A good ready position or we also called it outlet stance will put you in the correct posture to deal with a specific problem. However, it does reveal your intentions …
P1 Training Program
A good ready position or we also called it outlet stance will put you in the correct posture to deal with a specific problem. However, it does reveal your intentions …
Video transcript
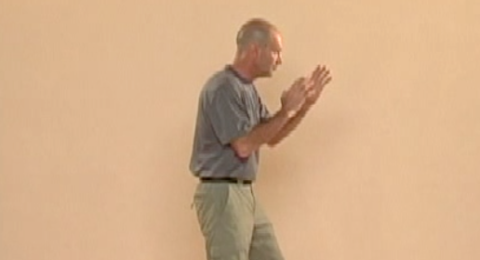
A good ready position or we also called it outlet stance will put you in the correct posture to deal with a specific problem. However, it does reveal your intentions and your knowledge. For instance, the boxer, the bobbing and weaving, the body work, the foot work, the shuffle is very relevant and characteristic to such work. The wrestler, the low stance, the hands forward. The karate person, relatively high, sometimes low hands with a certain type of body movements and leg work. The Chinese styles differ. This can be one of them, of a high stance and most of the weight on the back leg. The passive stance reveals nothing. It’s a simulation of a situation and a position of a disadvantage.
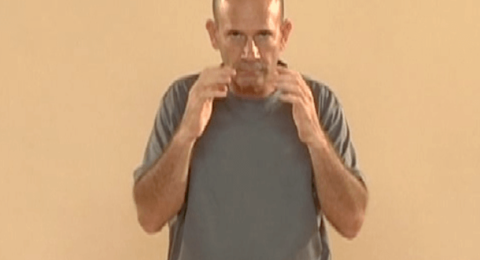
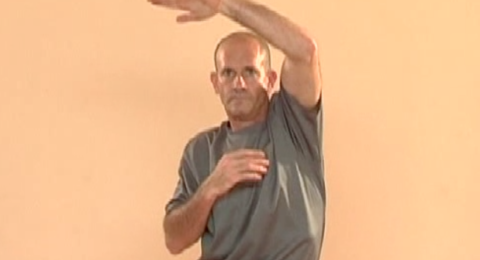
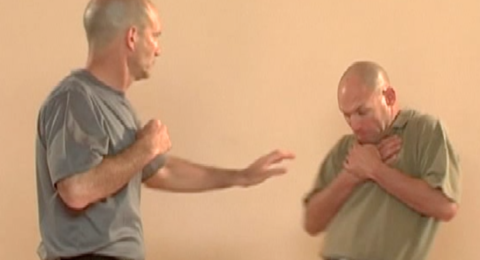
From this position at the learning stage we’ll do most of our techniques. It is balanced and symmetrical. Shift part of your weight towards your balls of the feet. This is the semi-passive stance. The body position is the same. The alignment is the same. However, the palms are in the level of the face, the jaw, and each palm is in front of the inside of the corresponding shoulder. Lower your chin a little bit and lift your shoulders just a little. When your legs are close together, you have bad balance. When you spread your legs apart to the sides, the balance is good and the resistance is good to the sides, however, front and back you have no good balance. When you make a large step forward, you have good balance forward and backwards and the resistance as well. However, to the sides you have very poor balance.
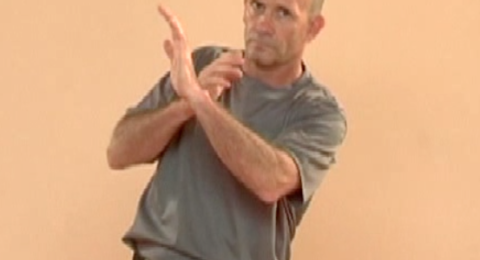
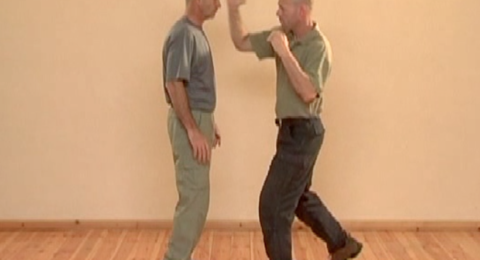
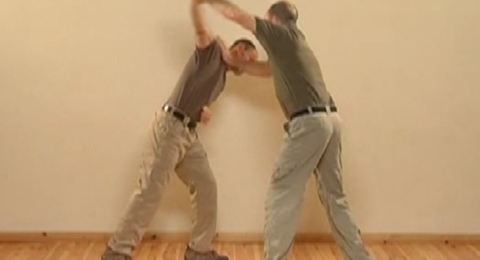
Here is the general ready stance when the left leg is forward. The balance is divided 60% on the front leg. The forward leg is turned a bit inward for maximum range for attacks and be able to make good techniques and protection of the groin area. The back heel is raised halfway. The hands are in the level of the face. The elbows are in front of the ribs. Moving to different directions while being in the general outlet stance. You should always move first the leg to which direction you intend to move the whole body, which means, for example, if you want to move forward, first move the forward leg. If you want to move backwards, move first the back leg, and same to the right and to the left.
If you open several centimeters, few inches, then you should close exactly the same amount, returning and keeping yourself in the general outlet stance. The shuffle. Moving to different directions back and forth.
P1 Lecture/Theory I

B. Ready Stances and Movements
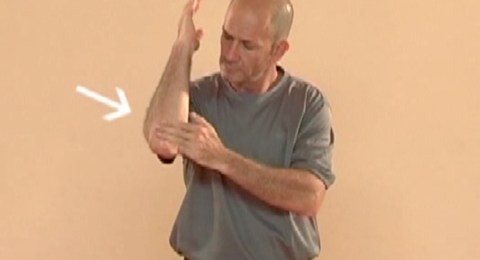
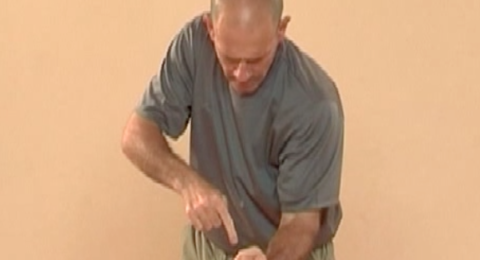
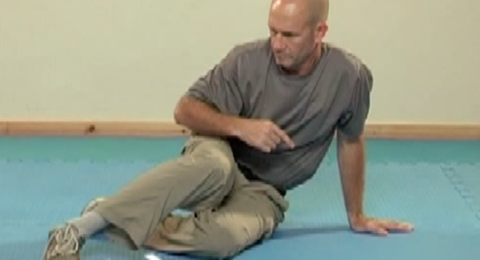
Notes: Punches are first practiced from a semi-passive stance;
later from a general ready stance. Practitioner should understand
principles of attacks and proper way to make a fist.
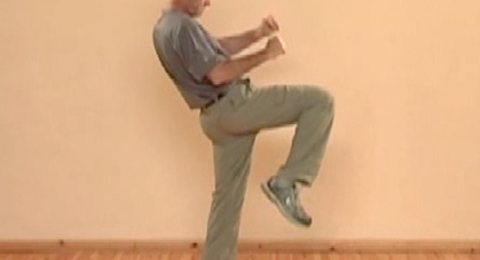
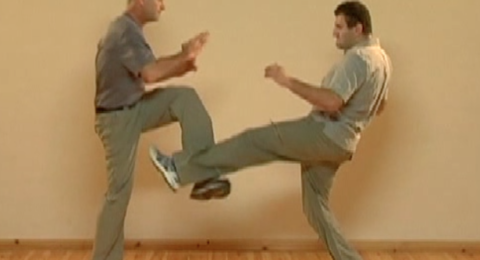
F. Kicks
Note: Kicks should be taught first from the passive stance, later from other stances.
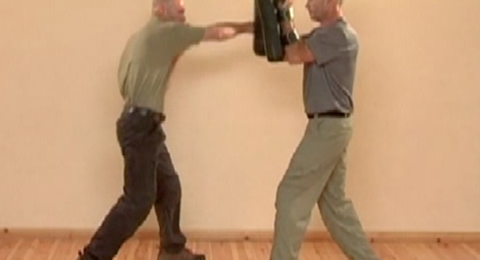
G. Combinations Using Learned Attacks
General Note: Emphasize recoiling in all attacks (especially straight punches and regular kicks).
I. Inside Defenses Against Straight Punches from a Semi Passive Stance
J. Leg Defenses Against Regular Kick
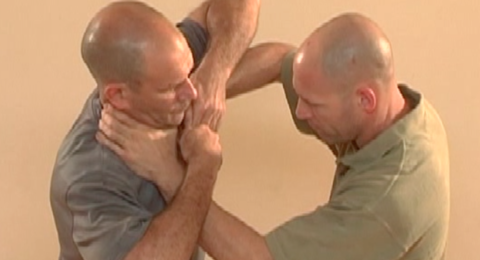
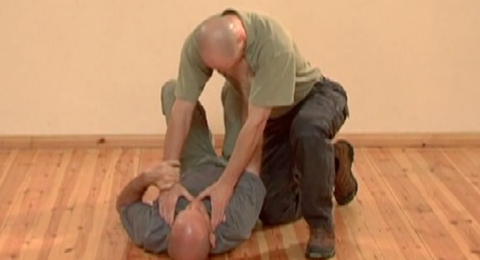
K. Defending Against Front Chokes
L. Releases While on the Ground
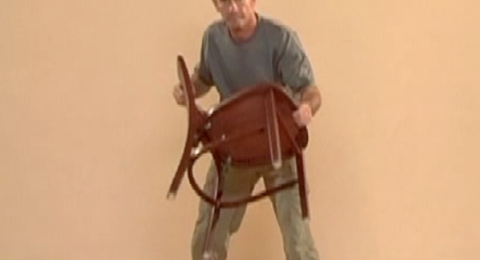
N. Using Common Objects as Self Defense Weapons
O. Training - Watching, Awareness, Prevention
P. Returning Attacker (defend -- attack -- defend)
1. Reaction Games / Fighting Games

Note: One can start with the "zombie" game, hands are straight.